Where to buy
Need advice? Our highly trained dealers are happy to help with questions, small or large.
Find a dealer near you
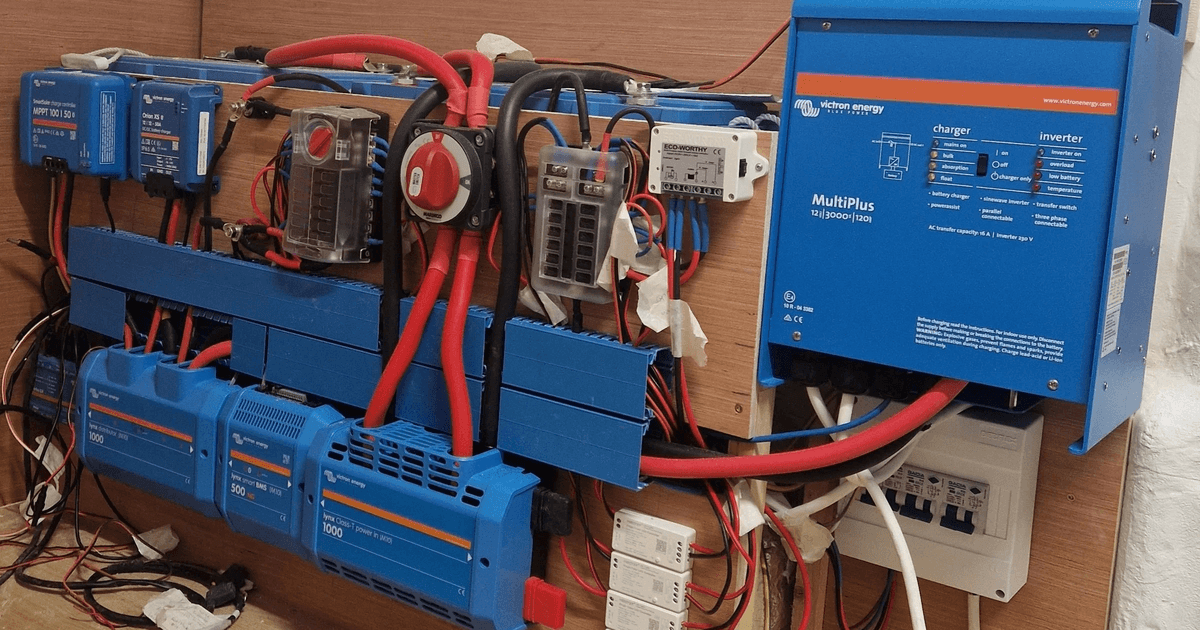
Understanding the Components of Your RV Electrical System
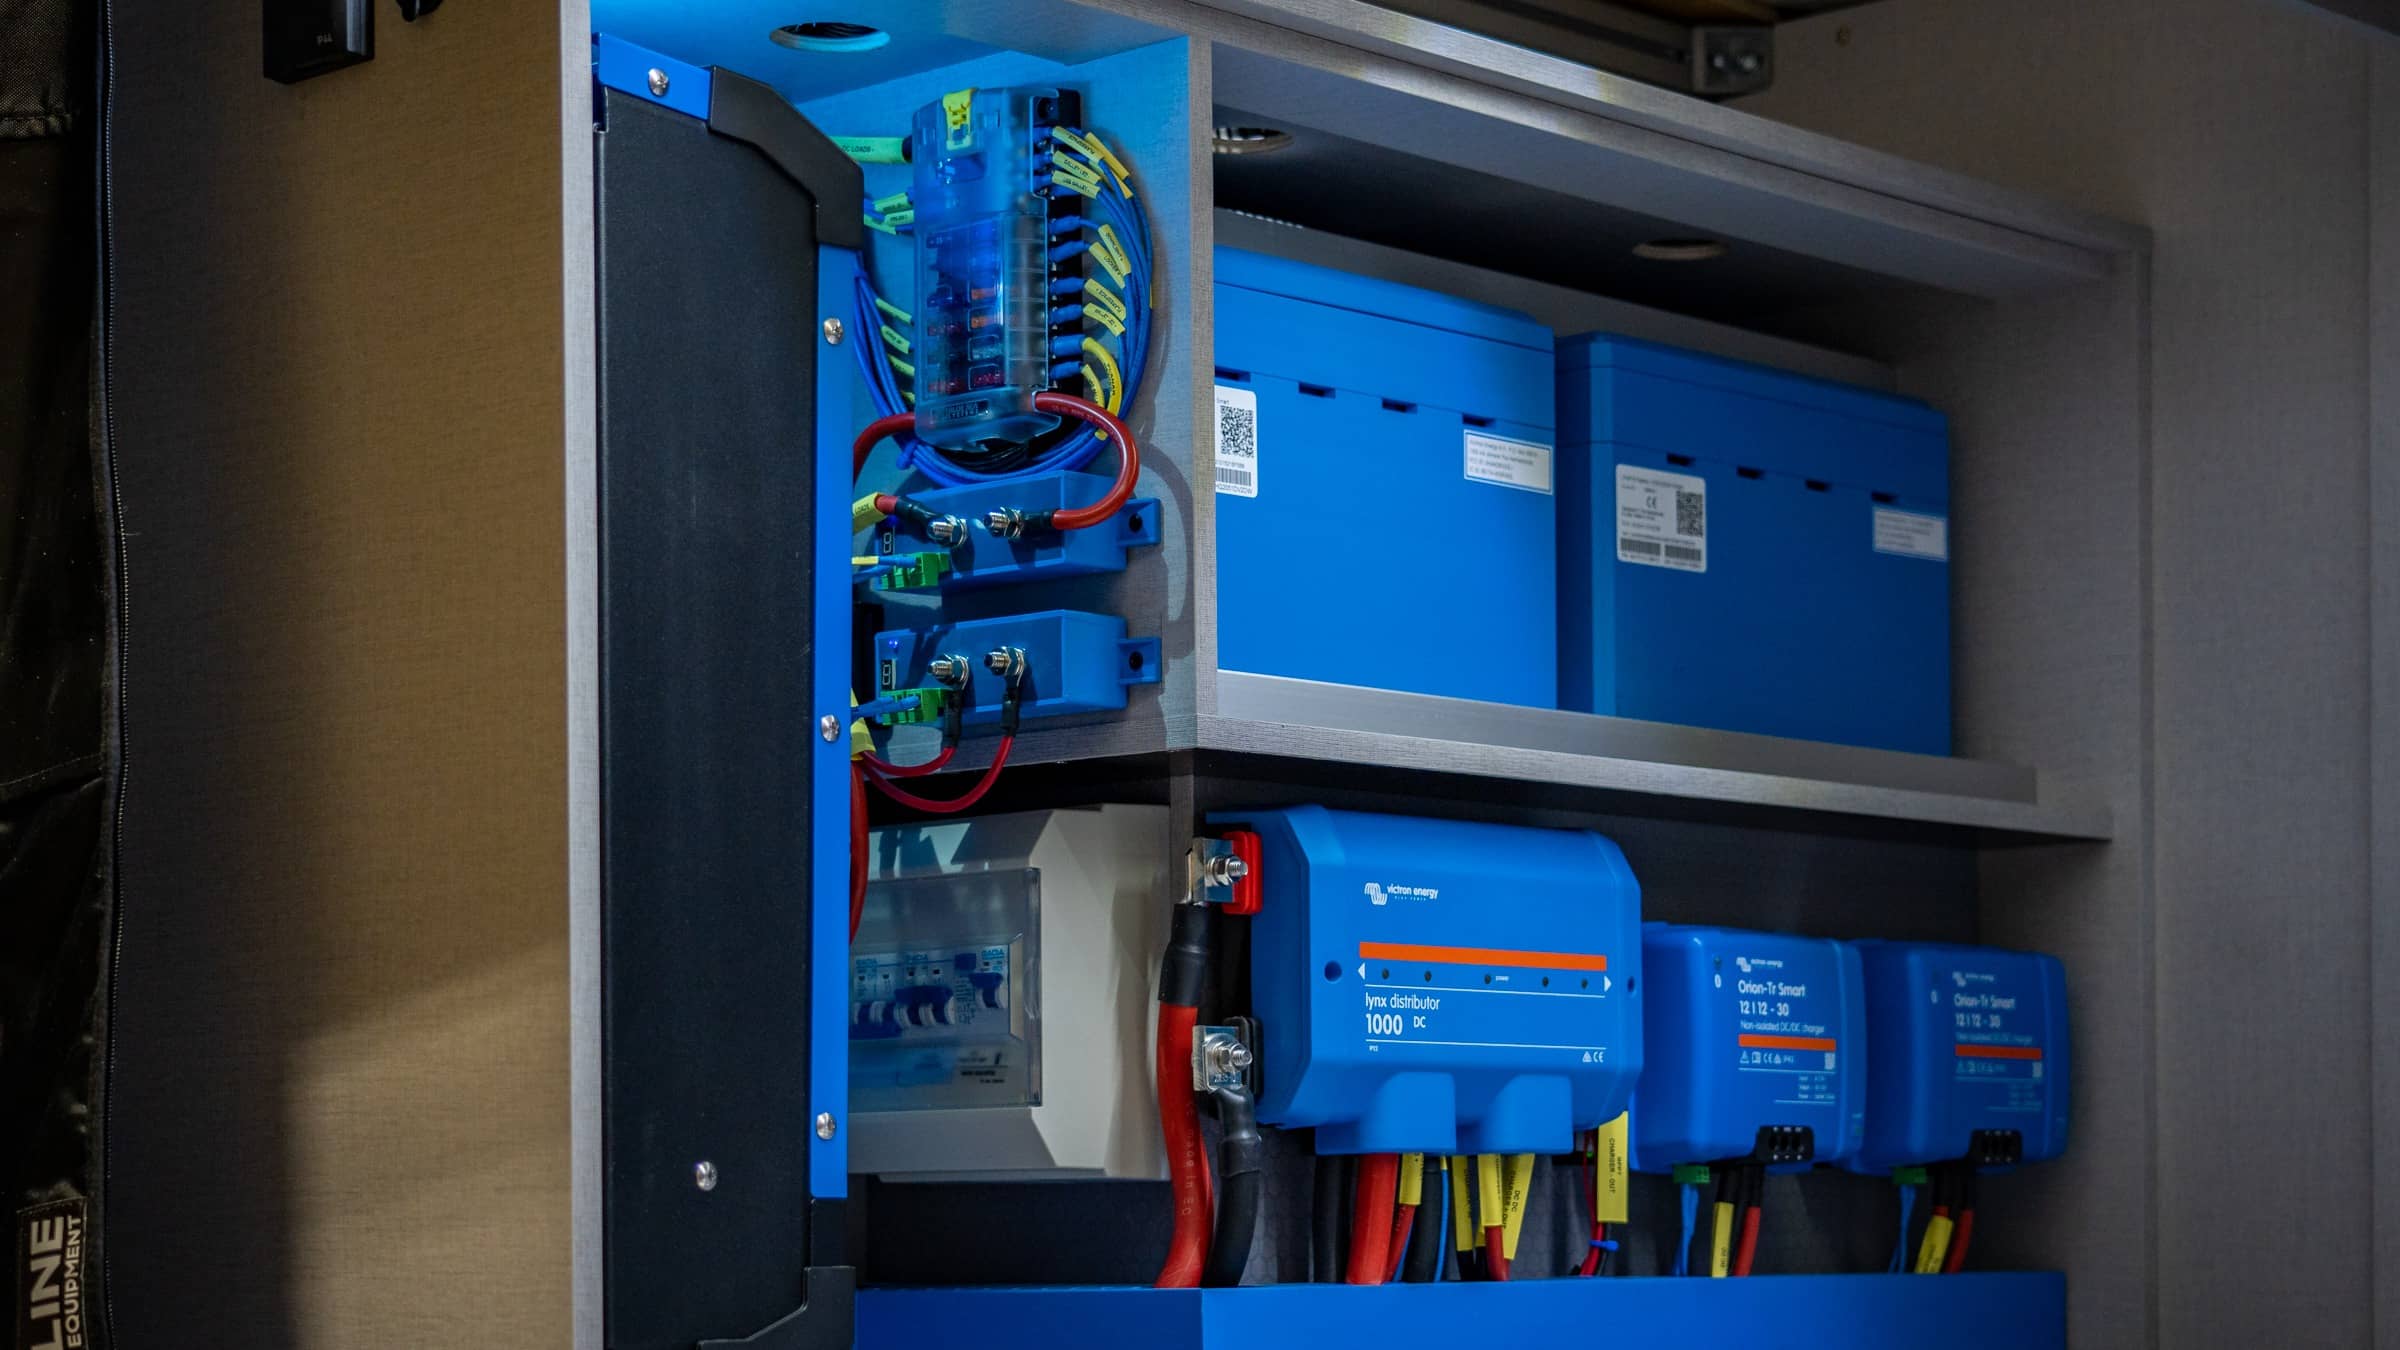
This article serves as an overview of the structure of your RV electrical system. Starting with the batteries at the core of your system, we’ll go over the system’s essential functions and the components that perform them. We’ll look at the components that charge your batteries and the components that power your appliances. Next, we’ll look at the components that allow you to monitor and control your electrical system’s functioning. Finally, we’ll go over the structural components that connect your system together and ensure its safe operation.
An RV electrical system primarily runs on DC (direct current) electricity. This is because a road vehicle’s on-board electronics run on DC electricity supplied by the starter battery. An RV electrical system can be seen as an extension of these on-board electronics; hence, it uses the same electricity standard.
Whilst 12V works well for the DC side of most RV electrical systems, 24V or 48V systems are more appropriate in some cases:
For simplicity, this article focuses on 12V systems, covering the majority of RV use cases. The choice of components and the way they function applies at 24V and 48V; if you need help deciding which battery voltage suits your build, see section 3.2 (‘Battery Voltage’) in our inverter/charger help-me-choose guide.
In order to run mains appliances in your RV, 12V DC electricity must be converted to 120V/230V AC (alternating current) electricity. Any appliance or device that plugs into a wall socket in your home, like a laptop charger, blender, or hair dryer, runs on mains AC electricity.
NOTE: 230V is the standard voltage for mains AC electricity in Europe, Australia, New Zealand, and most of Asia. 120V is the standard voltage in Canada, the USA, and most of Central America.
Converting from 12V to 120V/230V in an RV requires an inverter or inverter/charger. We’ll look at those in more detail in a later section. An RV electrical system with an inverter installed thus has two interlinked electrical systems; a 12V DC main system, and a 120V/230V AC subsystem.
Let’s take a look at the components that make up your RV electrical system, starting with the the core of that system: the leisure battery.
Leisure batteries store the electricity that power devices and appliances. Whilst the RV’s starter battery powers factory on-board electronics like cabin lights, radio, and electric windows, it lacks the capacity to power campervan appliances. For the higher-capacity power storage that makes an RV a home on wheels, you must install leisure batteries.
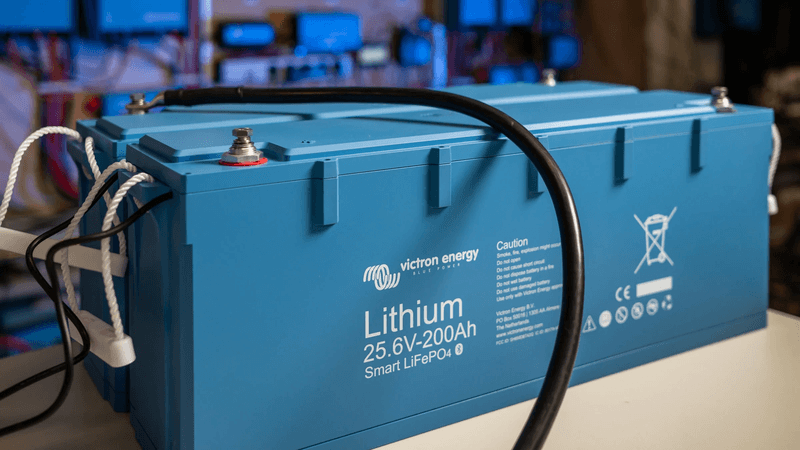
The capacity or ‘size’ of a leisure battery refers to the amount of usable electrical power it’s capable of storing. A bigger battery allows you to run a greater number of higher-power devices for longer before recharging. Battery capacity is quoted in amp-hours (Ah). The capacity of your chosen leisure battery is determined by the following factors:
The usable capacity of a battery differs from the battery’s rated capacity in that many batteries shouldn’t be discharged until they’re empty. The degree to which a battery is charged is referred to as its state of charge (SoC). A battery at 100% SoC is fully charged, whilst a battery at 0% SoC is empty: fully discharged. Regular discharging to 0% or close to it significantly impacts a battery’s overall lifespan: that is, the length of time a battery remains usable. Think of how your phone’s battery gradually performs less well over the years, and imagine the same happening to the leisure batteries at the core of your RV electrical system. To preserve your batteries, regular deep discharging should be avoided. A lead-acid battery discharged to 0% can be rendered completely unusable if it's left that way, necessitating a full replacement.
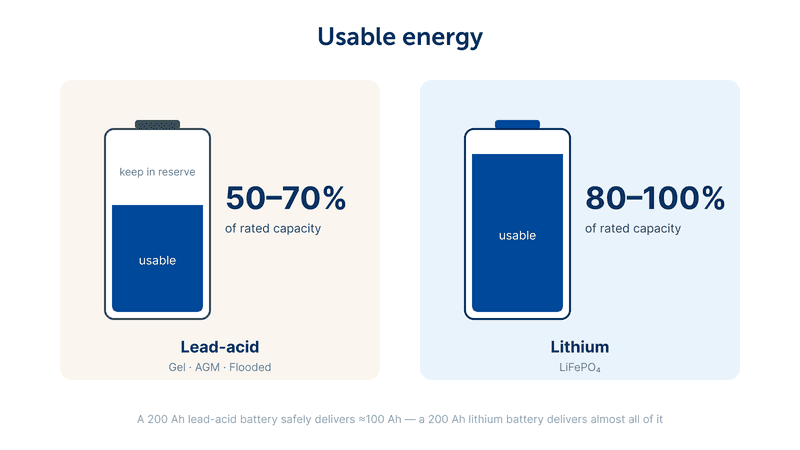
This is where different battery chemistries come in. The principal difference between lead-acid leisure batteries and lithium leisure batteries is that lead-acid batteries should only be discharged to around 50% SoC, whilst lithium batteries can handle more frequent discharging to 20% or even 0%. Lithium batteries also have longer lifespans regardless of state of charge, charge more quickly, and weigh less. Our article on upgrading from lead-acid to lithium has much more information on the differences between the two types. For more information on the different types of lead-acid batteries, take a look at our deep dive article.
NOTE: Whilst lithium batteries can be fully discharged to 0% without immediate serious damage, regular deep discharging damages the battery over time, reducing its overall lifespan. For this reason, we recommend that lithium batteries are not regularly discharged below 20%.
For more detailed information on properly sizing your RV leisure batteries, take a look at our step-by-step guide. With leisure batteries covered, let’s take a look at how you’ll keep those batteries charged.
RV electrical systems are charged in four ways: via a connection to mains electricity (shore power), from solar power, from the RV’s engine via the alternator, and from a generator. The charging capacity of these components is largely determined by the size of your batteries, which is why it’s important to size your batteries first.
Alternator charging is the other primary off-grid charging method, and relies on charging from the RV’s running engine via the alternator. The alternator is an electrical device that takes a small amount of power from the engine to charge the vehicle’s starter battery and power electrical components like headlights and windscreen wipers. This device can be tapped into and used to charge leisure batteries whilst the engine is running.
The alternator can be wired into your RV electrical system in a number of ways. Simpler options like manual relay switches, split charge relays, and split charge diodes are cheap and simple but inefficient, unable to charge modern leisure batteries to 100%, and offer no protection from overcharging the battery. Voltage sensitive relays and FET battery isolators are more efficient, but are unable to charge lithium leisure batteries as they can’t vary their output voltage and thus can’t provide the high voltage needed to charge a lithium battery at the end of its charge cycle.
DC-DC chargers, also called smart chargers or battery-to-battery chargers, have become standard for most RV electrical systems. They’re highly efficient, as they’re smart enough to charge a leisure battery based on its chemistry, charge state, and temperature. This also allows them to charge batteries to 100%, unlike other alternator charging technologies.
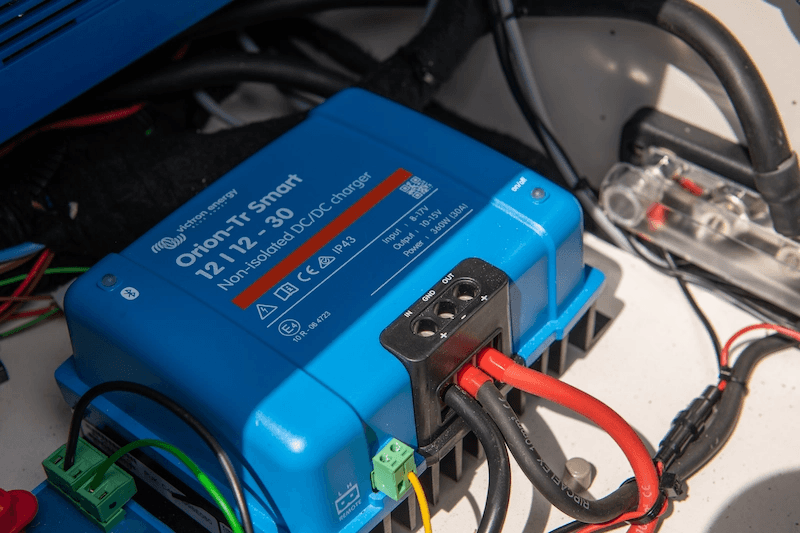
NOTE: DC-DC chargers are referred to by many names. The terms DC-DC charger, smart charger, battery-to-battery charger, and B2B charger all refer to the same type of device.
A quality DC-DC charger incorporates a full suite of safety features, protecting against overheating, battery overcharging, and dangerous malfunctions. They’re also the only kind of alternator charging device that is capable of charging a lithium leisure battery. Finally, DC-DC chargers are the only split charging device compatible with smart alternators. Smart alternators started replacing standard alternators in about 2016. They output a fluctuating voltage which allows the engine to operate more efficiently, but which can only be moderated by a DC-DC charger.
Solar power is one of two off-grid charging methods available to RV travellers. Once you leave the campsite or your driveway, off-grid battery charging gives you independence on the road. A solar charging system is composed of two main components:
Solar panels convert sunlight into usable electricity. These are usually mounted on your RV’s roof, as it’s a large space where panels can be permanently fixed. Solar panels come in two types:
Solar panels can be mounted singly or in arrays of two, three, or more panels. The size of a solar array is determined by the size of the leisure battery it’s charging and how quickly that battery needs to be charged. Read all about solar system sizing in our handy guide.
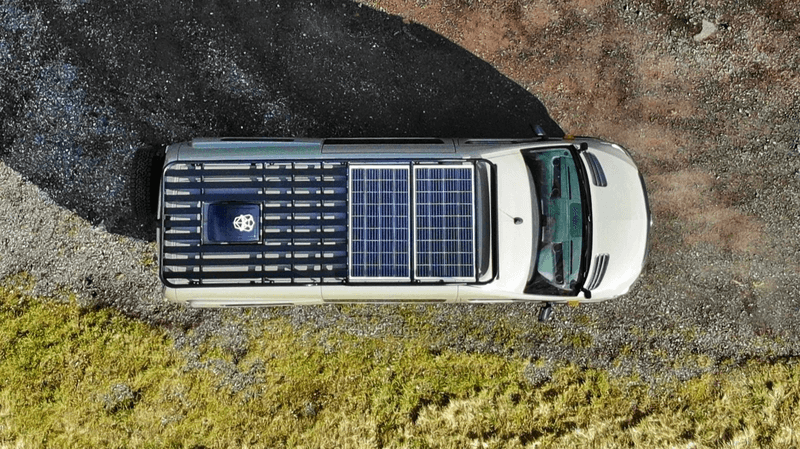
A solar charge controller sits between the panels and the electrical system, regulating the incoming power and safely charging the battery. Charge controllers come in two main types:
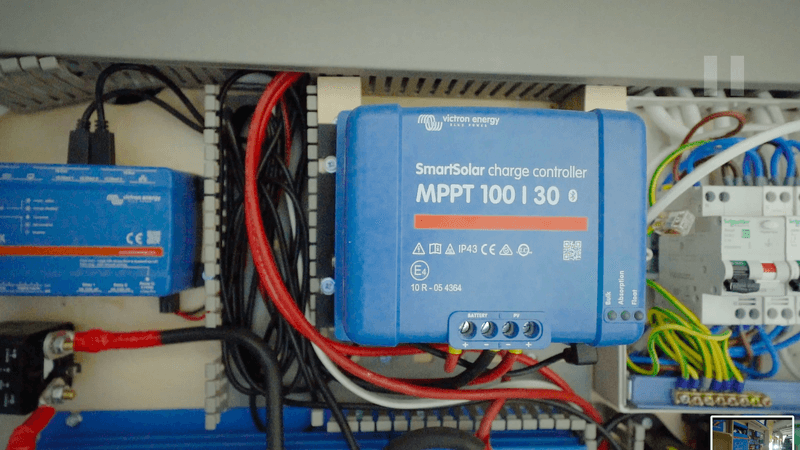
Also worth noting are all-in-one combined MPPT and inverter/charger units. Read all about the design and cost of a full RV solar system in our comprehensive guide.
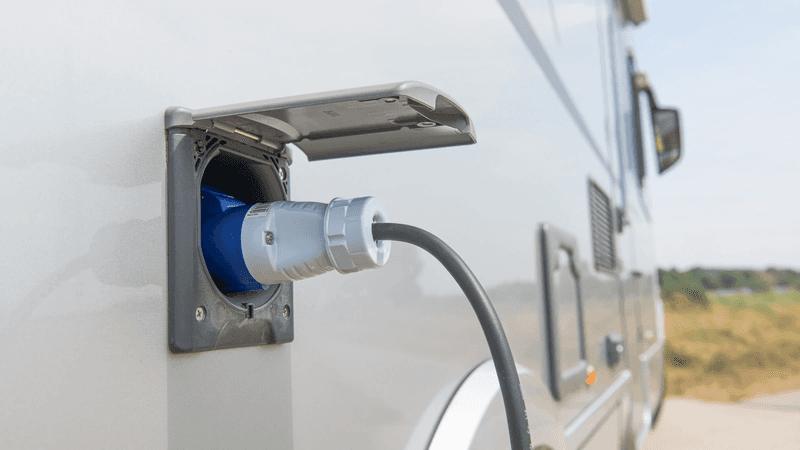
Shore power refers to a fixed mains electricity connection; the term comes from sailing, where a boat is plugged into an on-shore distribution point when docked. RV users typically plug into a similar point or ‘post’ when parked at campsites, or they may run a cable from their home electricity supply.
A shore power connection has two functions:
These two functions are mediated by a battery charger. A battery charger takes power from the shore connection and uses it to safely and efficiently charge your leisure batteries. Generally, this power comes into the van via a shore power cable and an external shore power inlet, wired into a consumer unit. We’ll discuss consumer units in the section on fusing and grounding below.
A battery charger is the simplest shore power solution, but an inverter/charger is more suitable if you want to run AC appliances off-grid, not just at a campsite. An inverter/charger charges your leisure batteries from shore power, converts DC battery power to AC mains power, and automatically switches between battery and shore power for seamless charging when you pull up to or leave a campsite. Our help me choose guide on inverter/chargers has all the information you need about these versatile, efficient devices. For a beginner’s guide to RV shore power in general, our explainer has everything you need.
Generators can be used to provide AC power, which is functionally the same as charging with shore power via a battery charger or inverter/charger. Generators can be carried for running appliances with power demands that are more than leisure batteries can handle, like washing machines and air-conditioning. They’re also useful as a last-ditch backup solution for when solar and alternator charging are unable to keep leisure batteries alive.
With batteries and charging methods in place, we can now look at using those batteries to power appliances and devices.
As mentioned earlier, an inverter is a device that takes DC electricity from your leisure batteries and converts it to AC. This allows you to run domestic appliances in your van and install mains plug sockets like those in your home. Inverters are complex devices, and there are a number of factors that differentiate them:
NOTE: Many inverters and appliances quote power ratings in watts (W). Victron’s inverter power ratings are quoted in volt-amps (VA). This is a more accurate measure of the inverter’s power output, as power output in watts changes with temperature and the efficiency of powered appliances. Check product datasheets for surge and continuous ratings and to understand how the watt rating of a given inverter changes with temperature.
As mentioned in the section on shore power charging, an inverter can be combined with a mains battery charger in a single unit, called an inverter/charger. This is a space-efficient solution with an easier installation than a separate inverter and charger. Learn all about the above factors and choose an inverter/charger that suits your needs with our handy guide.
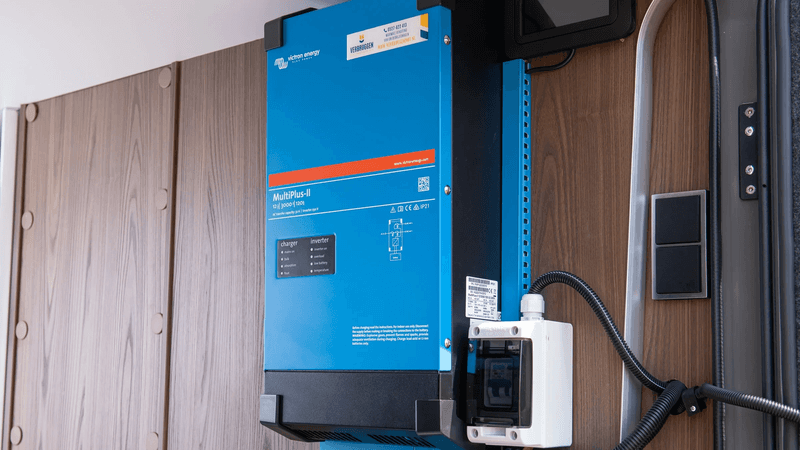
Having covered the AC subsystem, we’ll move on to the other side and look at DC loads powered by your leisure batteries.
DC loads are devices and appliances that run on DC power directly from your leisure batteries. These might be lights, fans, water pumps, charging ports, or heaters. A fridge is a key DC appliance found in most RVs.
These devices are all powered by your batteries via a DC fuse box and busbars. We’ll take a look at fusing and distribution in later sections.
With our batteries in place, charging systems keeping them powered, and AC and DC loads connected, we can look at solutions for monitoring your RV electrical system’s performance.
System monitoring allows you to see what’s going on in your battery and how all your electrical components interact. Monitoring setups vary in their complexity, ranging from phone-based readouts showing battery status and charge efficacy to integrated dashboards with the whole electrical system on display.
A complete entry-level solution is a SmartShunt. This device wires directly to your leisure battery and gives you essential battery status information:
This data is visible using the VictronConnect app, an easy-to-use mobile dashboard. A simple screen display can be added by plugging in a BMV-700 display module, or by installing a BMV-712 Smart, which includes both Bluetooth and screen in one package, plus a configurable alarm for audible alerts and a programmable relay for automation.
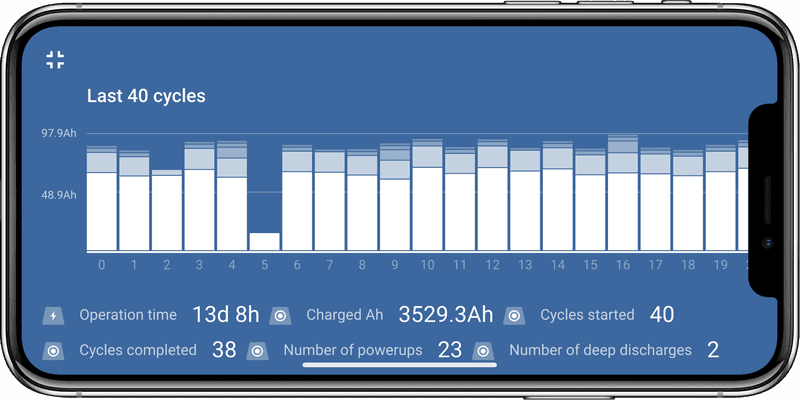
The VictronConnect app also displays information from Smart Victron products. Any device with ‘Smart’ in the name or a Bluetooth logo on its casing can connect to your phone and integrate into the VictronConnect app dashboard. This allows you to build out an integrated monitoring suite where the performance of specific devices is displayed, so you can see how effectively each charging source charges your batteries.
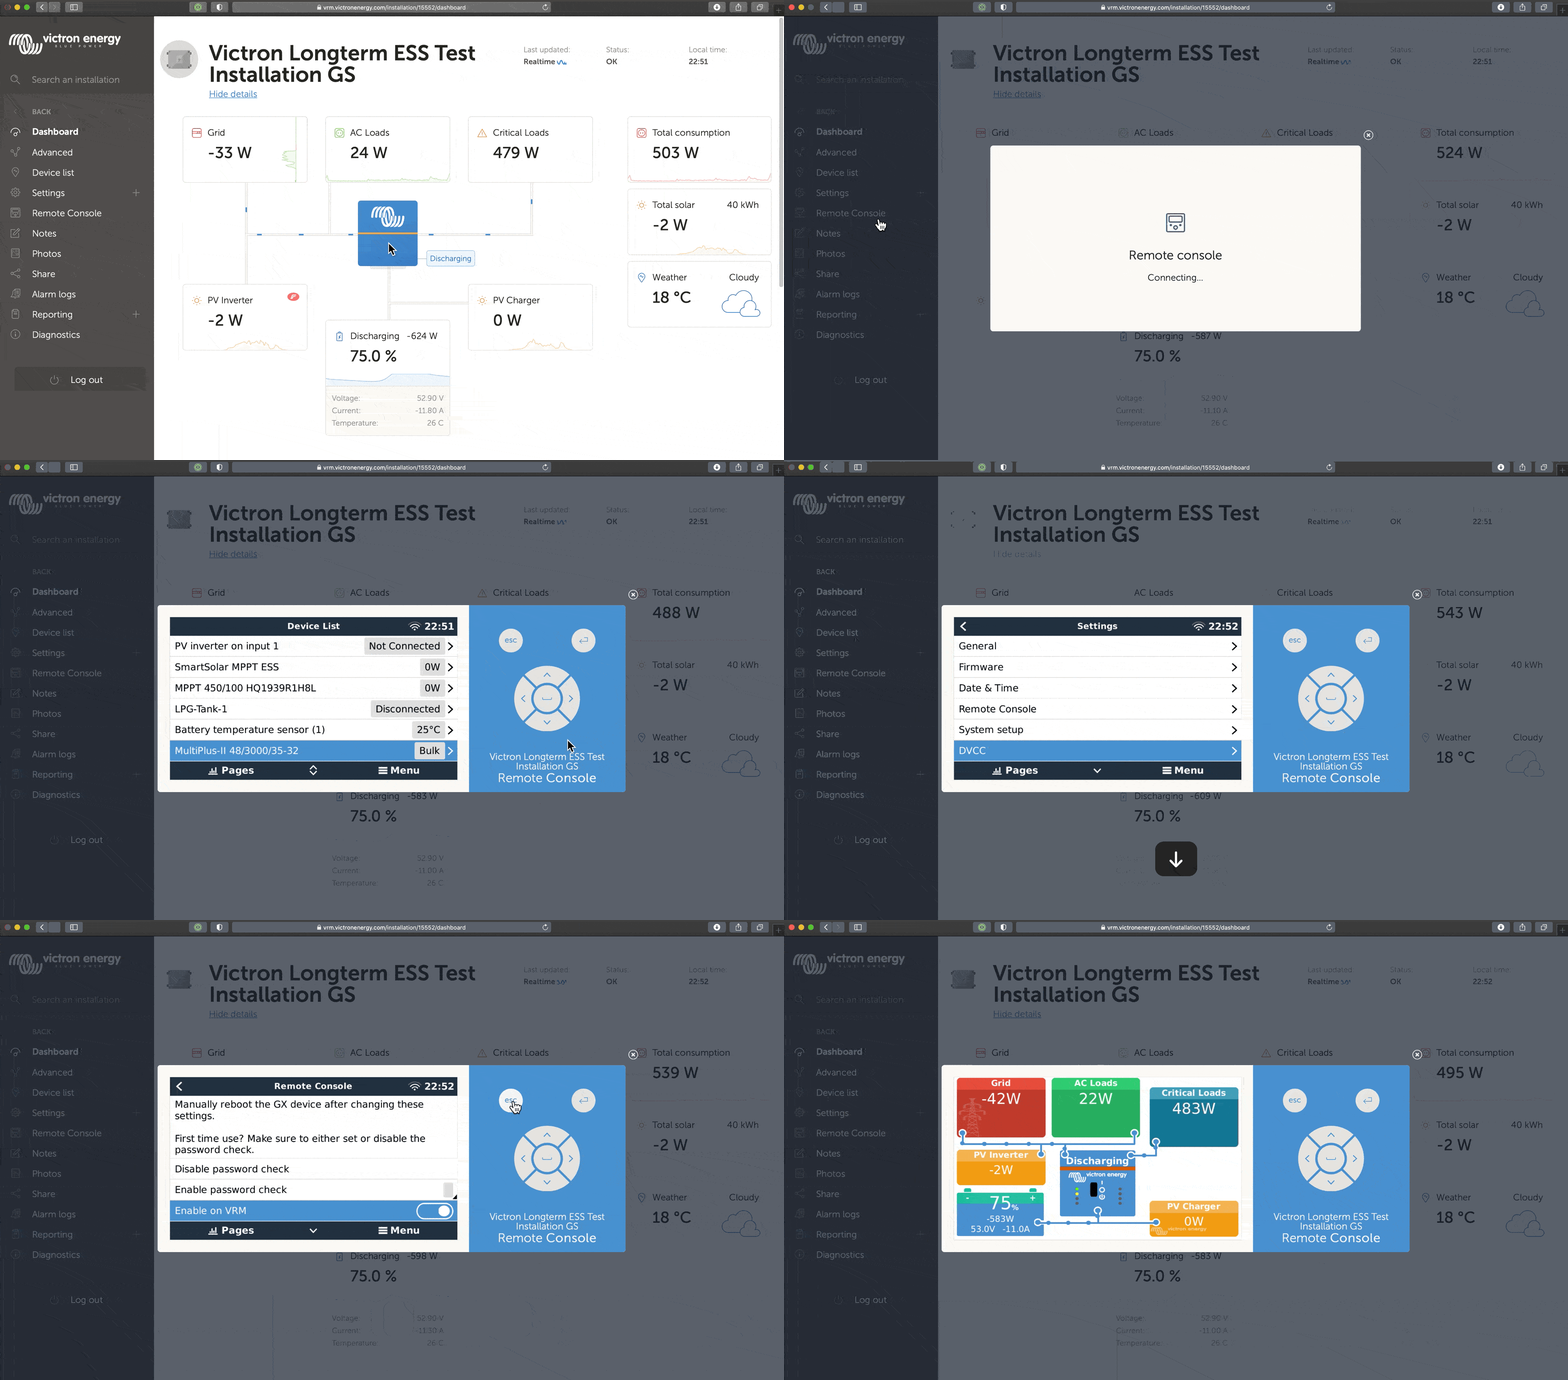
Going one step further, the addition of a communication centre like a Cerbo GX or Ekrano GX brings in data from your entire electrical system. It allows every device in the system to communicate with every other device, maximising performance. GX devices talk to the Victron Remote Management (VRM) dashboard, where you can remotely access granular performance data and fine-tuned control of every element in your electrical system. Discover everything you can do with the VRM dashboard here.
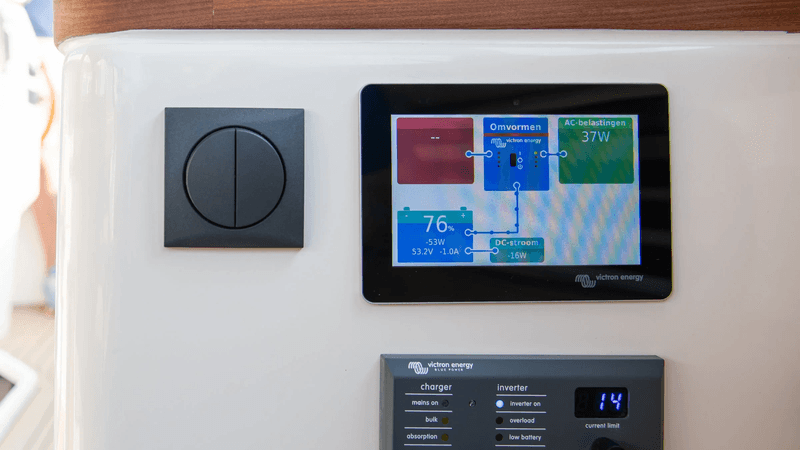
Complete your monitoring suite with a touchscreen display, integrating a monitoring and control dashboard into your van’s living area. Alternatively, choose the Victron Ekrano as your communication centre, which combines the functionality of a Cerbo GX with a large touchscreen in a single, compact device. You can also create your own DIY GX display using a repurposed Android phone or tablet and the Android GX WiFi Display app.
The GX monitoring ecosystem’s utility can be vastly extended as a programmable control dashboard using Venus OS Large. This is an extended build of the standard GX software which adds automation and deep system integration, compatible with 3-rd party devices. Using Venus OS Large, you can program custom functionality into your GX-integrated electrical system, like:
There’s also a fully customisable monitoring UI with custom graphs, gauges, switches, and sliders, which you can use to augment VRM far beyond its default data display capacity. Learn much more about what you can do with Venus OS Large here.
Wiring up your electrical system is made easier by starting with a wiring diagram. A wiring diagram is a schematic that clearly shows wire connections between components. From the wiring diagram, it’s easier to plan the gauge (thickness) of each wire, how each wire will be fused, and where distribution points fit in. Beginners to wiring might like to start with the Victron Toolkit App, or by reading our free ebook, Wiring Unlimited.
Distribution refers to the use of common connection terminals to organise electrical connections. The use of a busbar to distribute battery power, for example, allows a single battery cable to be split into multiple outputs. Your DC fuse box, powering your smaller DC loads (lights, pumps, fridge etc), incorporates busbars, again allowing for one input and multiple smaller outputs.
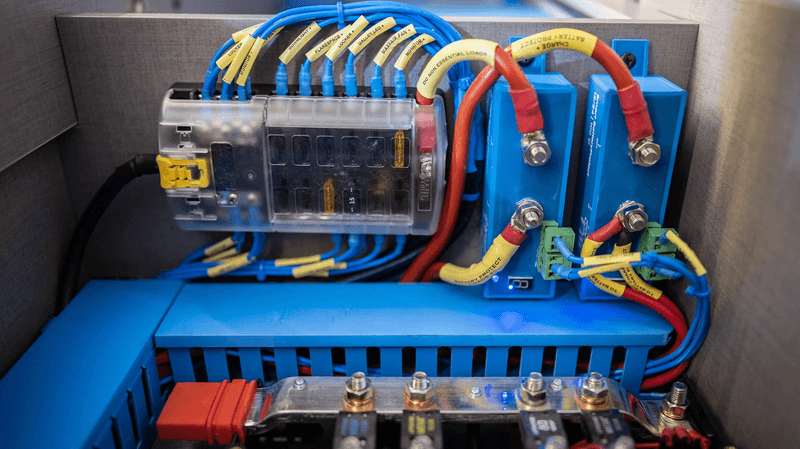
Victron’s Lynx Distribution system is a modular system based on a battery input terminal and a fused busbar pair. Power coming from the batteries is received by the Lynx Power In, a self-contained busbar with room for four battery inputs, plus a ground connection. The Power In connects without wires to the Lynx Distributor, a fused busbar which organises and sends power to your DC loads whilst displaying fuse status on the front panel. The Lynx system can be capped off with a Lynx BMS, which once again connects without the need for wires, and provides battery monitoring and connectivity like a SmartShunt. A Cerbo GX can be added to the Lynx system for sophisticated system-wide monitoring.
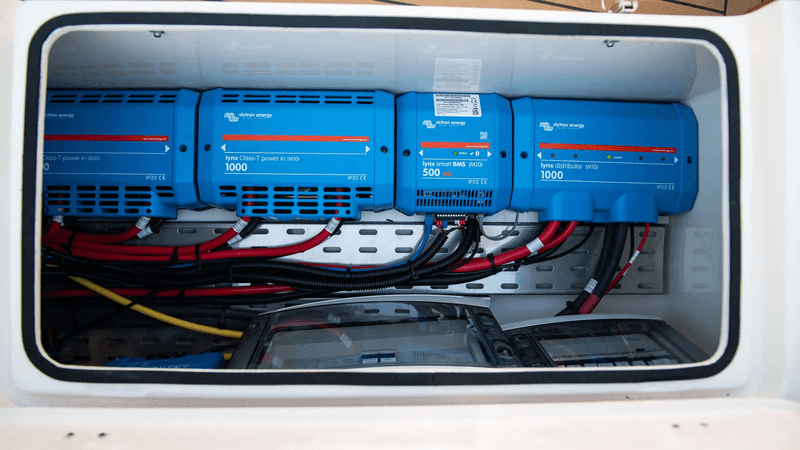
The Lynx system is an excellent way of simplifying your wiring and distribution, all whilst bringing your DC loads into your VictronConnect app or GX-powered monitoring ecosystem.
The final, but arguably most important, element of your RV electrical system is fusing and switching. Fuses automatically cut power to a circuit when an overload occurs, protecting you from short circuits or malfunctions and preventing dangerous electrical faults, fires, and damage to your components. Each circuit in your electrical system should be protected by a fuse. They come in a number of forms:
The Lynx Power In fulfills the joint function of a battery distribution busbar and a battery fuse, eliminating the need for separate battery fuses. The Lynx Distributor both distributes DC loads and fuses the individual circuits, also eliminating the need for individual in-line fuses for each circuit. For the many small circuits powering your various DC appliances, we recommend a DC fuse box, which fuses and distributes power to these DC loads in a single unit.
Isolation switches are another important safety component; wiring an isolation switch immediately downstream of your batteries allows you to safely kill power to your entire electrical system. This is important for any inspection and maintenance work, or if you plan to leave your RV unattended for a long time.
Breakers are resettable fuses which are commonly used in AC systems. You may recognise them from the fuse box in your home; they’re also used to protect AC systems in an RV. When installing your inverter or inverter/charger, you must also install breakers, organising them in a consumer unit. The consumer unit combines inverter fusing with inverter grounding.
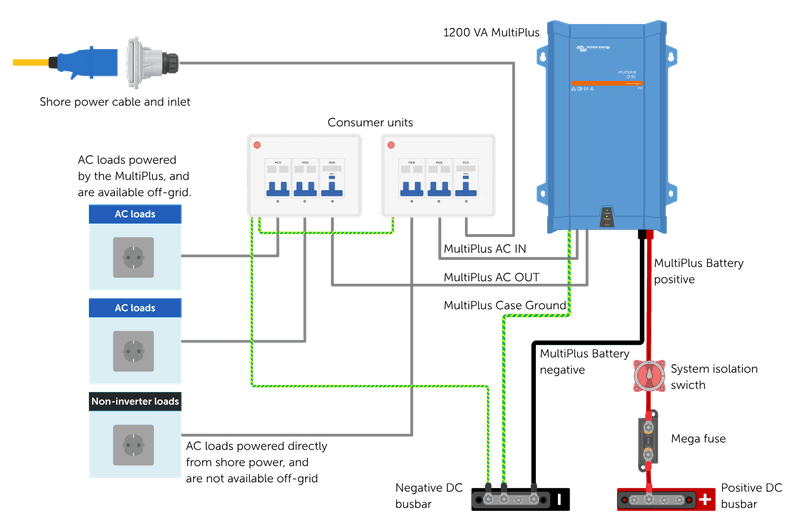
Grounding is the final safety consideration for your RV electrical system. Grounding acts in conjunction with your fuses to protect you and your electrical system from short circuits. The following elements of your system must be grounded:
Grounding and fusing are critical safety components and it’s important to get them right. Make sure you consult our Victron Toolkit app and the Wiring Unlimited ebook for much more information. Remember, there’s no harm in seeking advice from one of our authorised distributors and installers.
SAFETY NOTE: Improper wiring, fusing, and grounding can cause electrical faults which damage or break your electrical components, cause fires and explosions, and injure or kill RV users. If you’re not certain of the safety of the system you’ve designed, consult a professional.
We’ve now covered the essential components of an RV electrical system. Planning these systems can be daunting, so taking the time to understand each component and how they fit together is key.
If you can’t find the information you need in the resources signposted in this article, take a look at the Victron Community space. This is a free forum where you can ask questions and get answers from Victron experts and other installers.

Beril Berkem • 04 May 2026
How to size a solar system for your RV
Learn how to size a solar system for your RV. Estimate your energy needs and choose the right components to power your adventures.
Beril Berkem • 16 June 2026
RV Shore Power: A beginner's guide
Understand the essence of having multiple power sources for your RV's electrical system and learn how to add shore power to yours.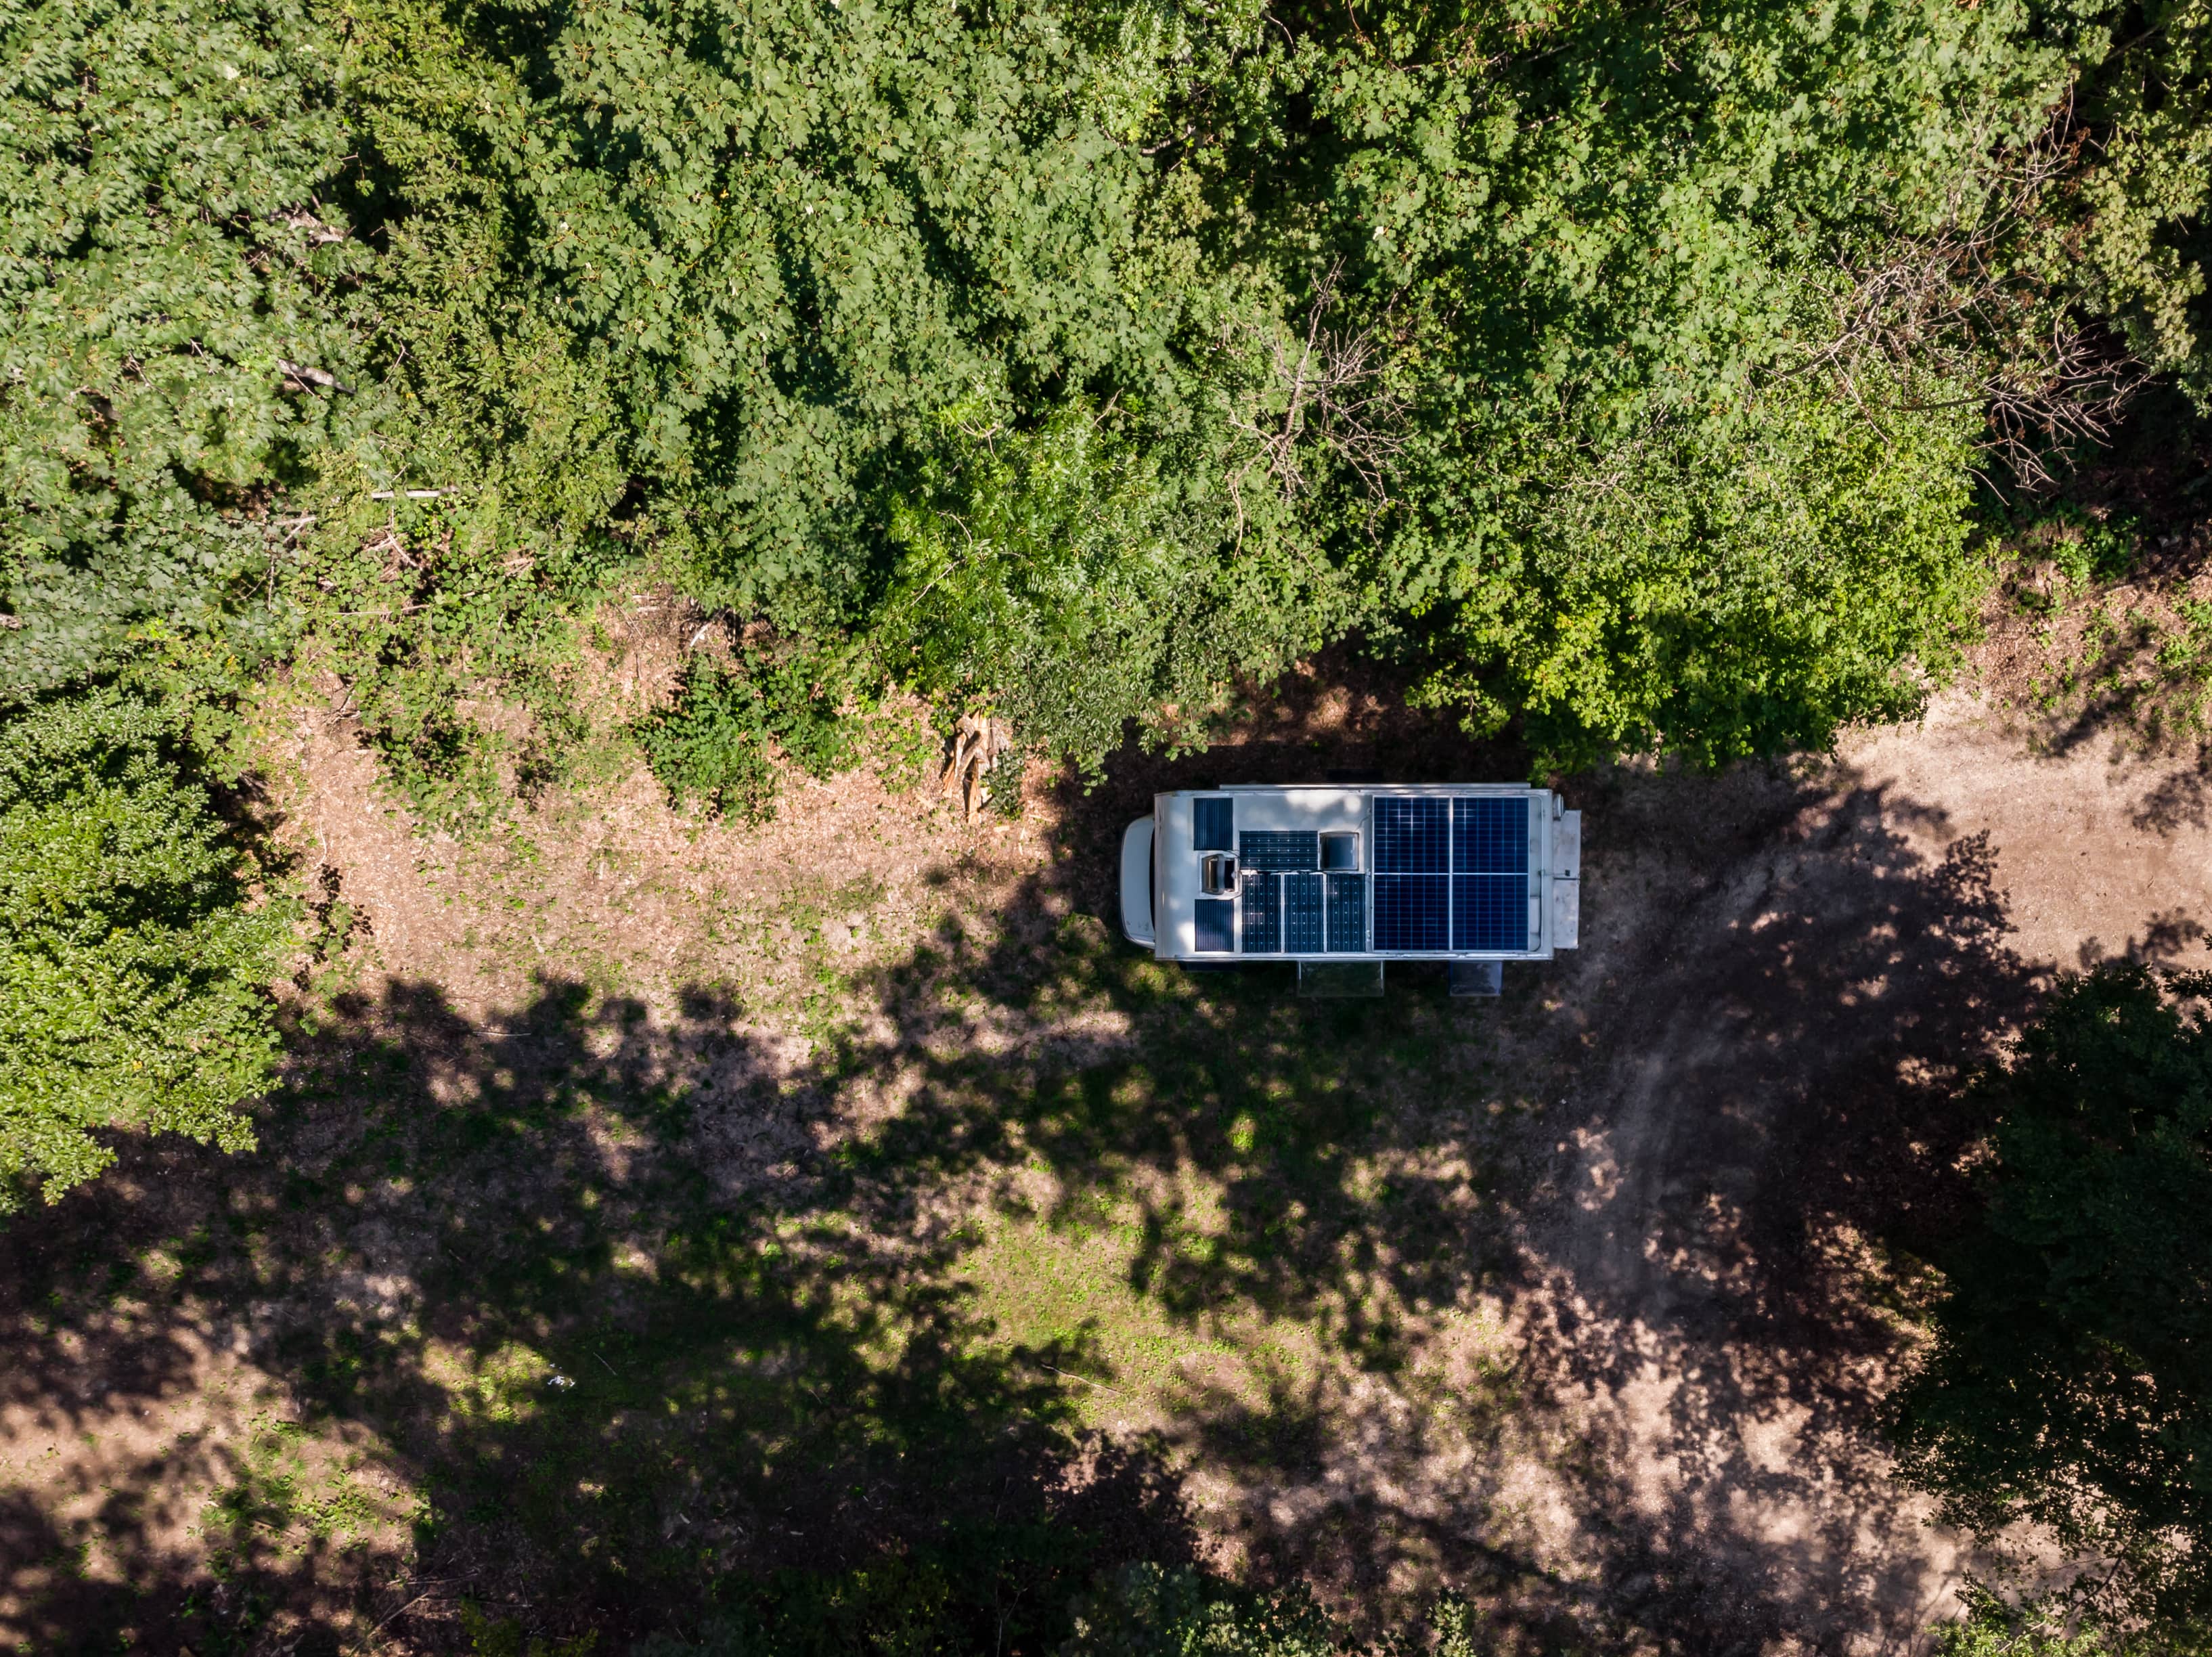
Beril Berkem • 16 June 2026
How much does an RV solar system cost?
Get a feeling for the cost of an RV solar system and its components through some helpful examples and tips.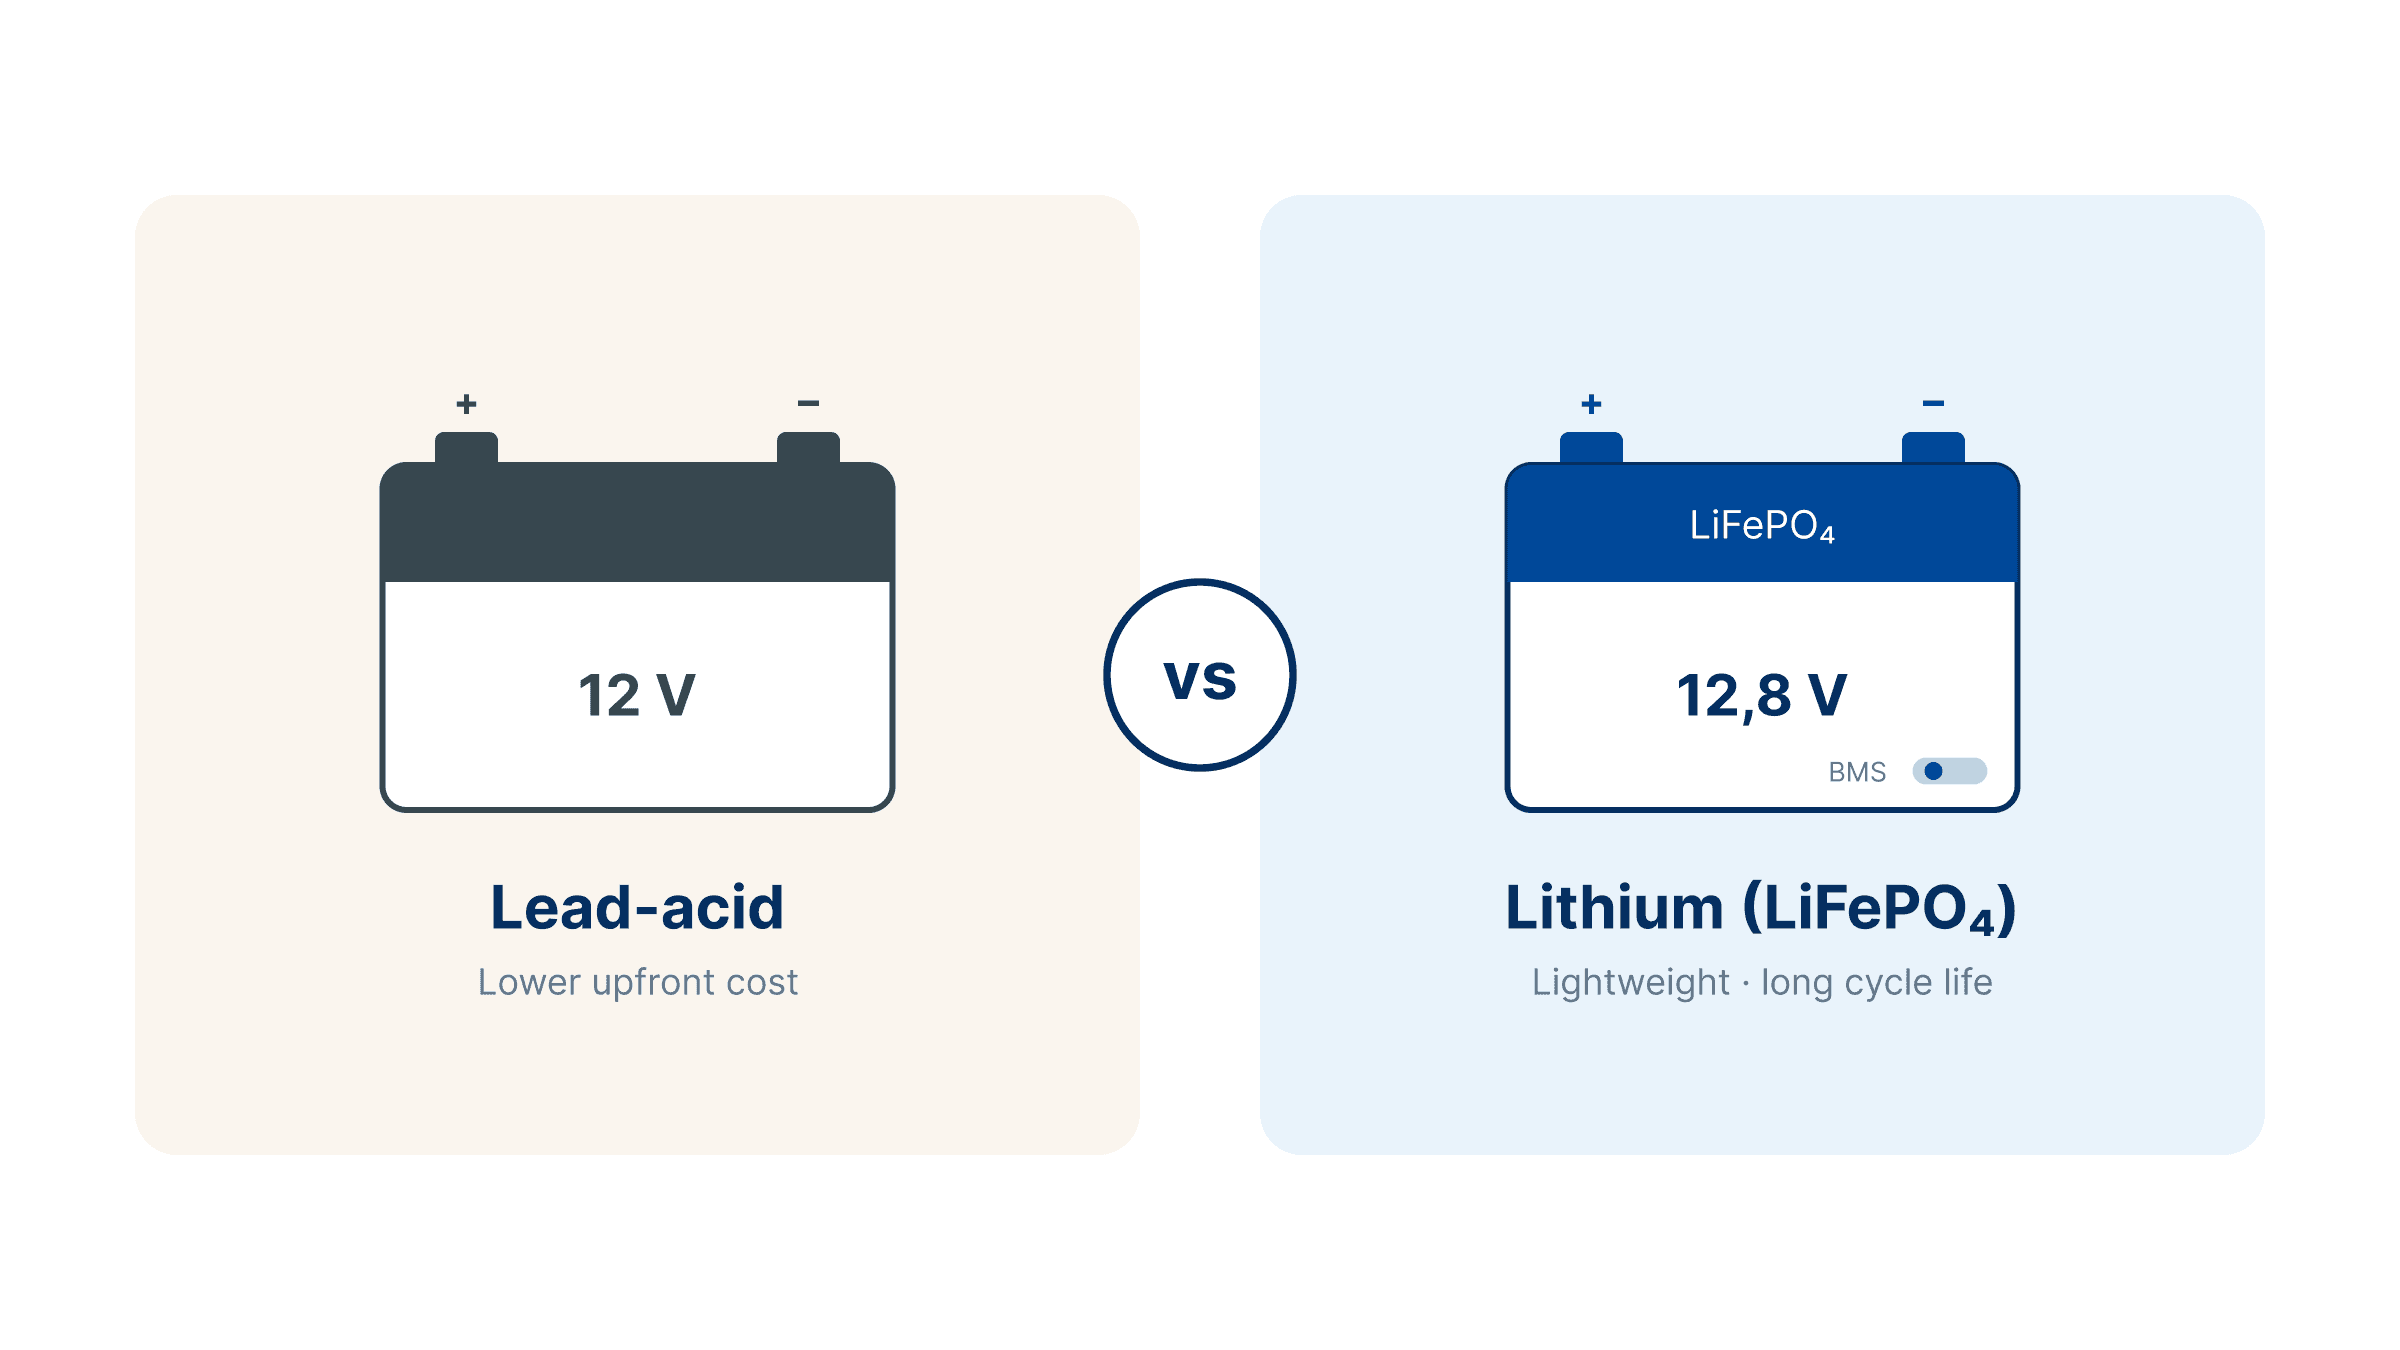
John Rushworth • 30 March 2015
Lithium-ion vs Lead-acid (AGM/Gel) Batteries
Lithium-ion vs Lead-acid (AGM/Gel): usable energy, depth of discharge & load performance compared.Need advice? Our highly trained dealers are happy to help with questions, small or large.
Find a dealer near you
Check our support resources or contact your original dealer for dedicated support, repairs or warranty requests.
Support
Read more about our industry-leading 5-year standard warranty and global repair service.
Warranty

©Victron Energy 2026